Make your own Christmas star – simple DIY paper star
The internet is full of Christmas ideas and poinsettias are simply part of an atmospheric Christmas decoration. Are you also looking for new craft ideas for the festive season? Then this poinsettia DIY is just the thing for you. Paper stars for Christmas with a Scandinavian look are very trendy right now. The delicate poinsettias, also known as pleated stars, bring a touch of Christmas magic into your home and are a great craft idea for Christmas, even for children. How can you make a poinsettia? Making a poinsettia is very easy - you can find out exactly how here in the detailed instructions:
Materials
- sandwich paper
- Scissors
- ruler
- Pencil
- Glue stick
- Cardboard
- Hot glue
- Decorative ribbon
Which paper for Christmas stars?
Sandwich paper or another thin paper such as tissue paper is best. This makes the star look particularly delicate and easier to fold.
Step-by-step instructions
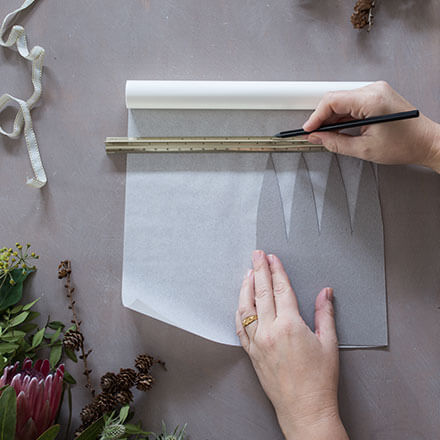
Step 1: Cut the paper correctly
Start by cutting a template for the largest star. The template shows half of the star. Then place this on the sandwich paper to determine the height. Mark this delicately with a pencil. Fold the paper up once at this point so that it lies double and cut to size.
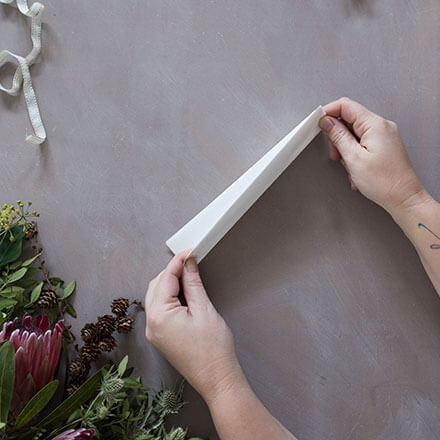
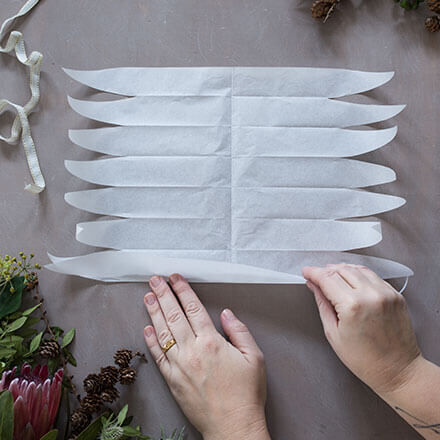
Step 2: Fold the paper
Now place the sandwich paper in front of you on the table so that the closed side is on the left. Then keep folding the edges exactly towards each other so that the bread paper blank is halved. Repeat this step until you have a strip approx. 2 cm wide.
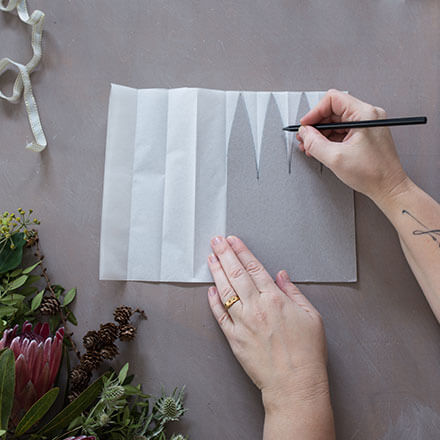
Step 3: Transfer the template
Unfold the previously folded paper again and place it in front of you with the closed side facing down. Place the template on top and transfer the folds as lines onto the cardboard. The points of the star on the template should be the same width as the individual areas between the folds. Cut the template to size and transfer the finished template to the sandwich paper.
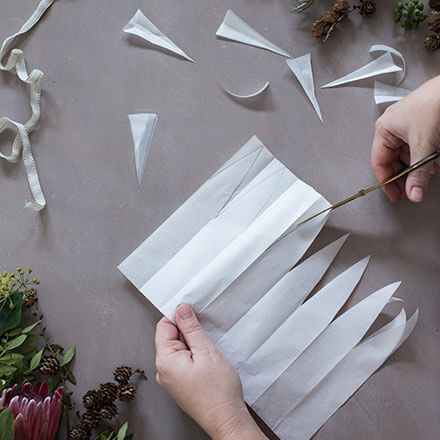
Step 4: Cut out the star
Cut out the points along the lines and open the greaseproof paper completely.
Step 5: Fold the star
Place the sandwich paper with the long edge in front of you (the points are on the right and left). Then fold together accordion-style according to the existing folds. Repeat steps 1-5 a total of 6 times for the large star.
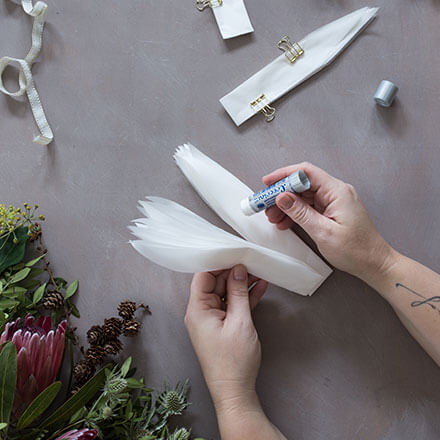
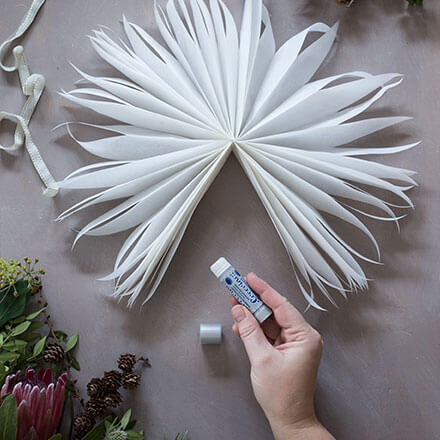
Step 6: Glue the individual parts together
Glue the individual star pieces together on the inside with a glue stick. Secure with paper clips until the glue has dried. Then glue all the individual parts together in the same way and leave to dry. Then fan out the star and glue the open edge together with a glue stick.
Step 7: Finish the star
Using the same principle, make 2 more stars, each one a little smaller than the previous star. Glue the three finished stars together using hot glue. Finally, use hot glue to attach a decorative ribbon to the back of the star to hang it up.
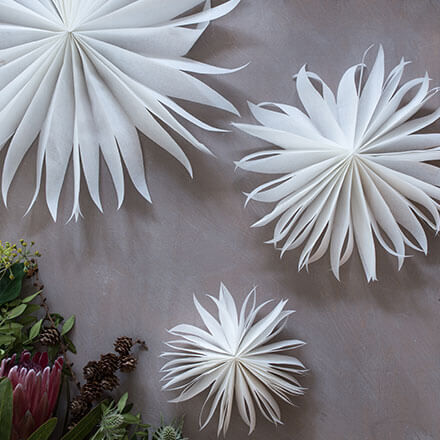
Done!
It's so easy to make a paper poinsettia. We hope you have lots of fun with your Christmas decorations!

The mum-of-three lives by the motto "there's never enough decoration" and deals with the topics of DIY and sustainability, among others. Whether it's home ideas, crafting instructions or recipes - everyone will find something for themselves.