Easter egg craft: flower decoration for Easter eggs
Coloured, painted, coated or glued - no Easter without colourful Easter eggs. Because Easter eggs are simply part of the Easter decorations. For many people, colouring Easter eggs is an annual Easter tradition that is celebrated by young and old alike.
But it doesn't always have to be the classic coloured Easter egg. DIY Easter eggs can be designed to suit your own taste and any decoration.
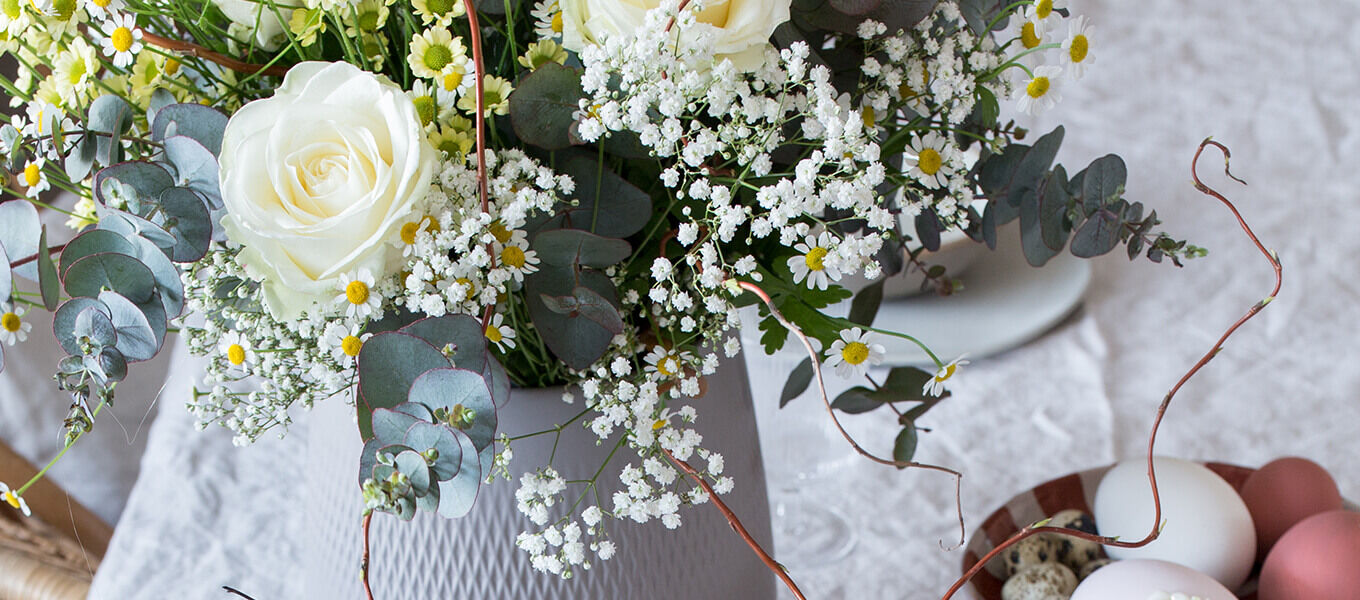
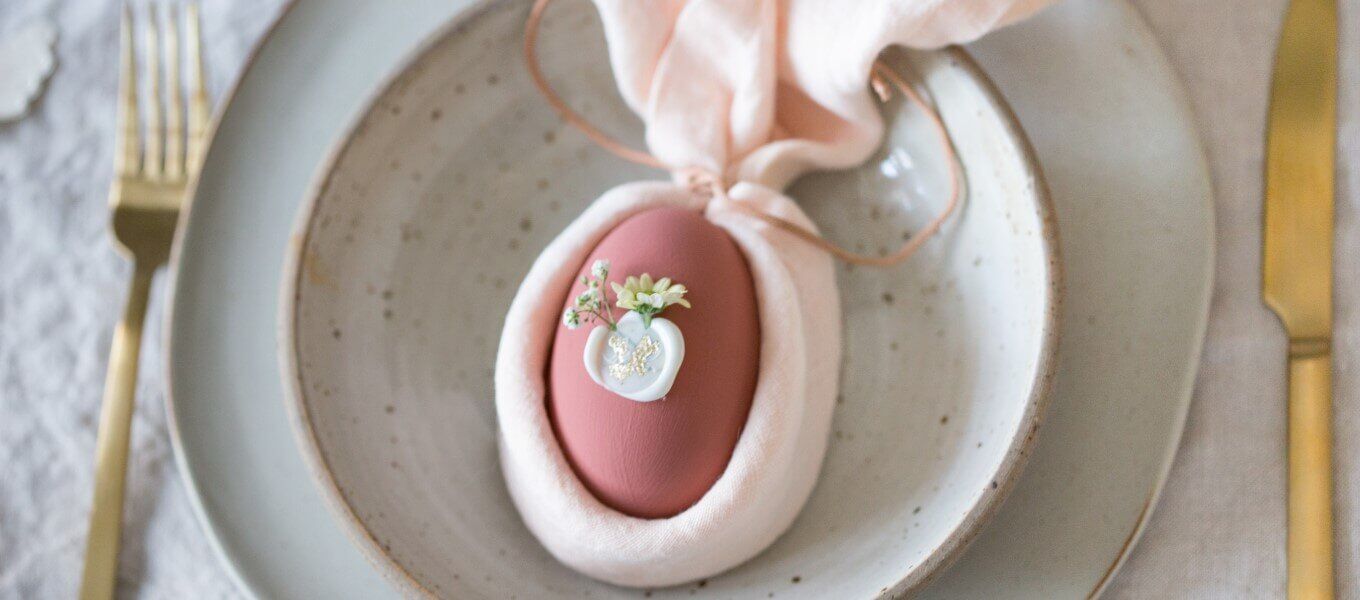
Just like these DIY Easter eggs with flowers. They go wonderfully with Easter table decorations and a beautiful Easter bouquet, creating a harmonious ensemble on the Easter table.
Required materials:
- blown-out eggs (it looks particularly nice if you use eggs of different sizes, e.g. hen's eggs and goose eggs)
- chalk paint
- paintbrush
- Sealing wax in white + sealing stamp
- baking paper
- Various small flowers
- possibly gold leaf as decoration
- hot glue
Instructions for flower decorations for Easter
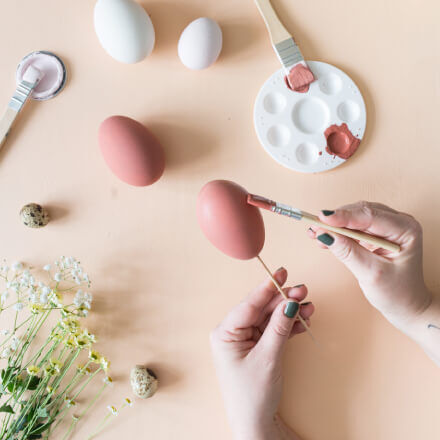
Step 1: Blow out the egg and paint it with chalk paint
If necessary, blow out the egg and then paint it with the chalk colour. Tip: if you don't want to paint your hands so much, use a wooden skewer to hold the egg. This makes it super easy to paint. Then simply place the egg with the wooden skewer in a glass to dry.
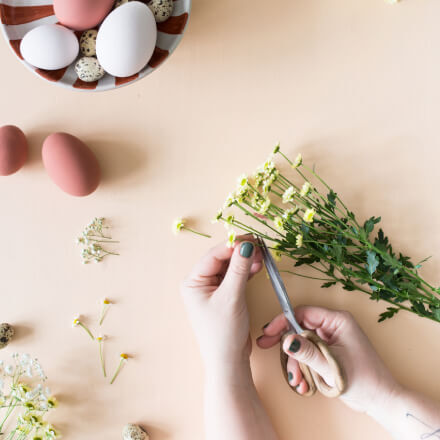
Step 2: Select and cut the flowers
Cut off the individual blossoms from various flowers. Flowers with small blossoms, such as camomile, waxflower, sea lilac and gypsophila, are of course the most suitable.
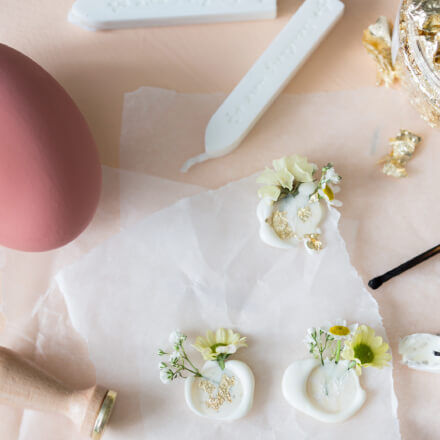
Step 3: Decorate sealing wax with flowers
Then pour a large drop of sealing wax onto a piece of baking paper. Then quickly add a few flowers and drip another thin layer of sealing wax on top. If you like, you can add a little gold leaf. Then press on the sealing stamp and wait briefly until the sealing wax has cooled and dried.
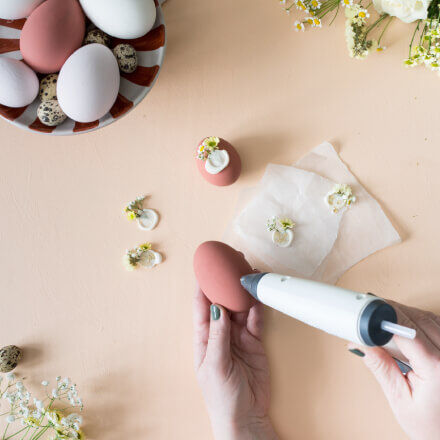
Step 4: Attach sealing wax with flowers to the egg
Carefully remove the sealing wax sheets with the flowers from the baking paper and attach them to the painted egg using hot glue.
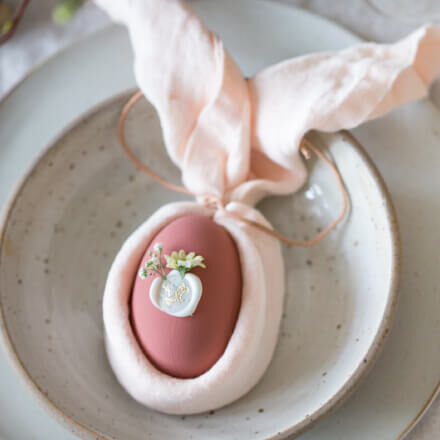
Done!
The homemade eggs can be decorated with a simple linen cloth. Click here for the instructions!


