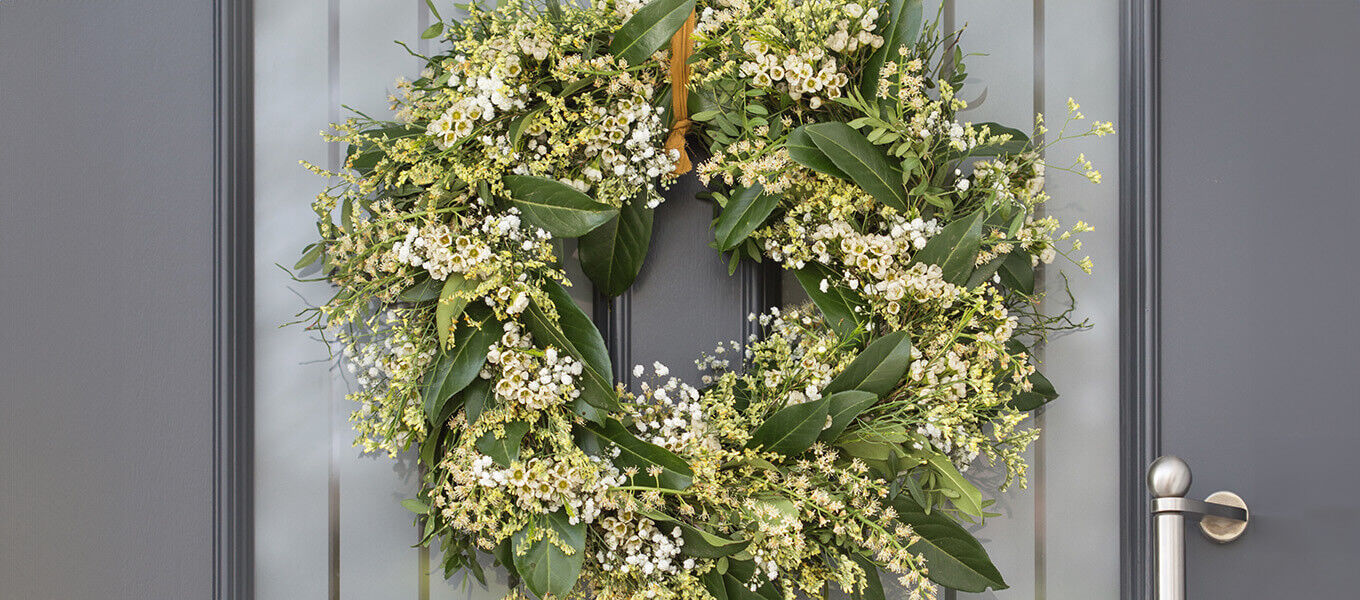
Decorating vases with branches in spring
It's often dreary and uncomfortable outside, the Christmas decorations are stowed away in boxes again and it suddenly seems bare and dreary at home. But especially in the dreary months at the beginning of the year, you want to make your home really cozy again, but perhaps can't wait for spring. Then spring flowers are the perfect solution. The combination of fresh, colorful flowers and candlelight is simply unbeatable for a cozy feeling. This DIY is also ideal for reusing a small part of the Christmas decorations. You'll find everything else you need in the detailed instructions below.
Required materials:
- Tree candle clamps
- Mini vases or small mini bottles (it will be especially beautiful if you use different sizes or shapes)
- hot glue
- Large branches
- Various flowers in fresh colors and early bloomers, e.g. tulips, pearl hyacinths, ranunculus, mimosa, delphinium, colored gypsophila
Instructions for DIY clamp vases - we show you how to do it:
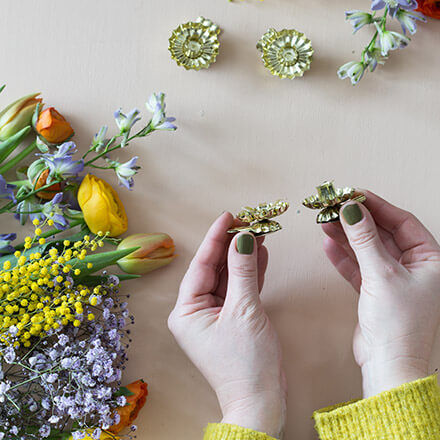
Step 1: Prepare the tree candle clamps
So that the small mini vase can later be attached to the tree candle clamp, it first needs to be adjusted slightly. This is really quite simple. To do this, simply use your finger or a pair of pliers to carefully bend the small bars that normally hold the candles flat to the side. This creates a relatively flat surface for the mini vase to rest on.
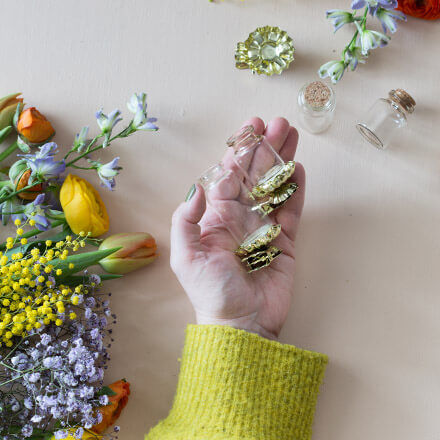
Step 2: Attaching mini vases
To attach the mini vase to the clamp, simply apply a generous amount of hot glue to the bottom of the mini vase in a circle and press the vase onto the previously created area on the tree candle clamp and hold for a few seconds.
Tip: you should do this as quickly as possible, as hot glue cools down relatively quickly on a material such as glass and therefore loses its adhesive properties and may come loose again.
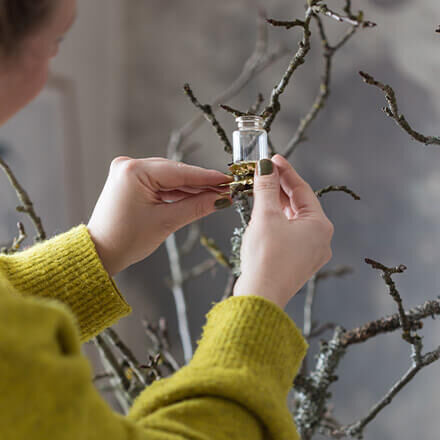
Step 3: Arrange the DIY clamp vases
Now, of course, the finished DIY clamp vases also need a nice place to decorate. They will look particularly beautiful on a branched branch.
Tip: branches with lots of small side branches that are not too thin are best, as they should be able to hold the weight of the vase, water and flowers. Then distribute the DIY clamp vases all around the branches. Of course, it is particularly beautiful and stable if you attach the vases to relatively horizontal branches.
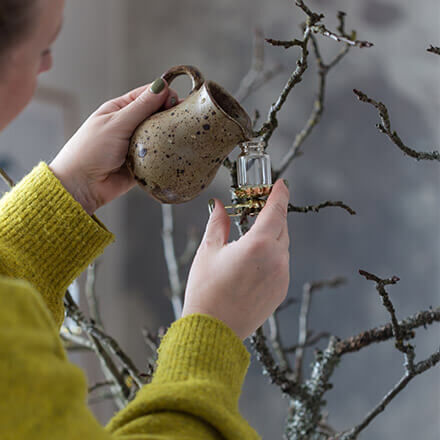
Step 4: Fill with water
Of course, flowers in mini vases also need some water. The best way to do this is to carefully pour water into the mini vases using a small jug until they are about ⅓ full. If you add more water, bear in mind that this will also make the mini vases heavier and increase the load on the branch to which they will later be attached.
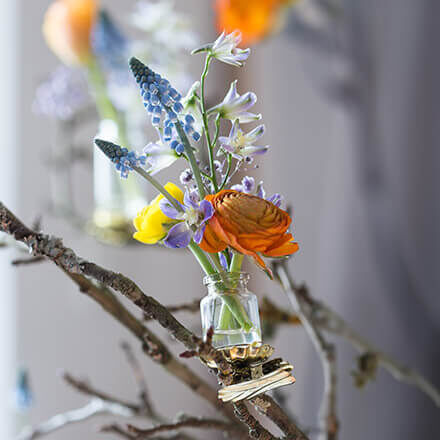
Step 5: Arranging flowers
The best comes last, of course - arranging flowers in the DIY clamp vases. I love playing with different flowers and colors here. It looks particularly beautiful when you create small flower bouquets in a vase, with different heights, fullness and color.
Done!
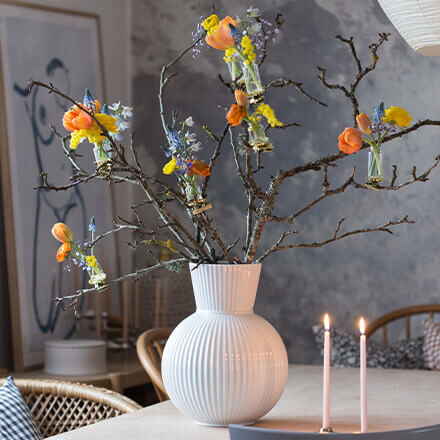
The ready-arranged branches with the DIY clamp vases and their small mini bouquets look great in a large vase on the dining table, the sideboard in the living room or on a large windowsill. No matter where: the decorative ensemble will definitely give you a taste of spring and color. If you like, you can also fill the small mini vases with dried flowers or flowers that dry out beautifully, such as gypsophila, sea lilac or mimosa. This way you can enjoy them for a particularly long time. Have fun making your own.

The mum-of-three lives by the motto "there's never enough decoration" and deals with the topics of DIY and sustainability, among others. Whether it's home ideas, crafting instructions or recipes - everyone will find something for themselves.