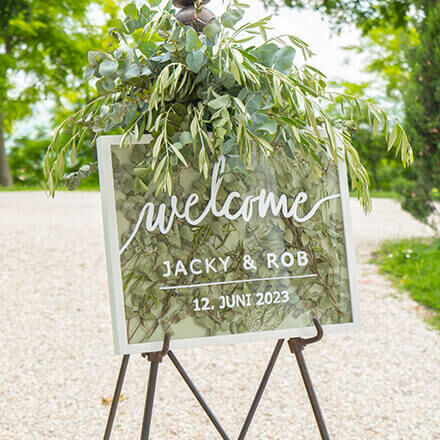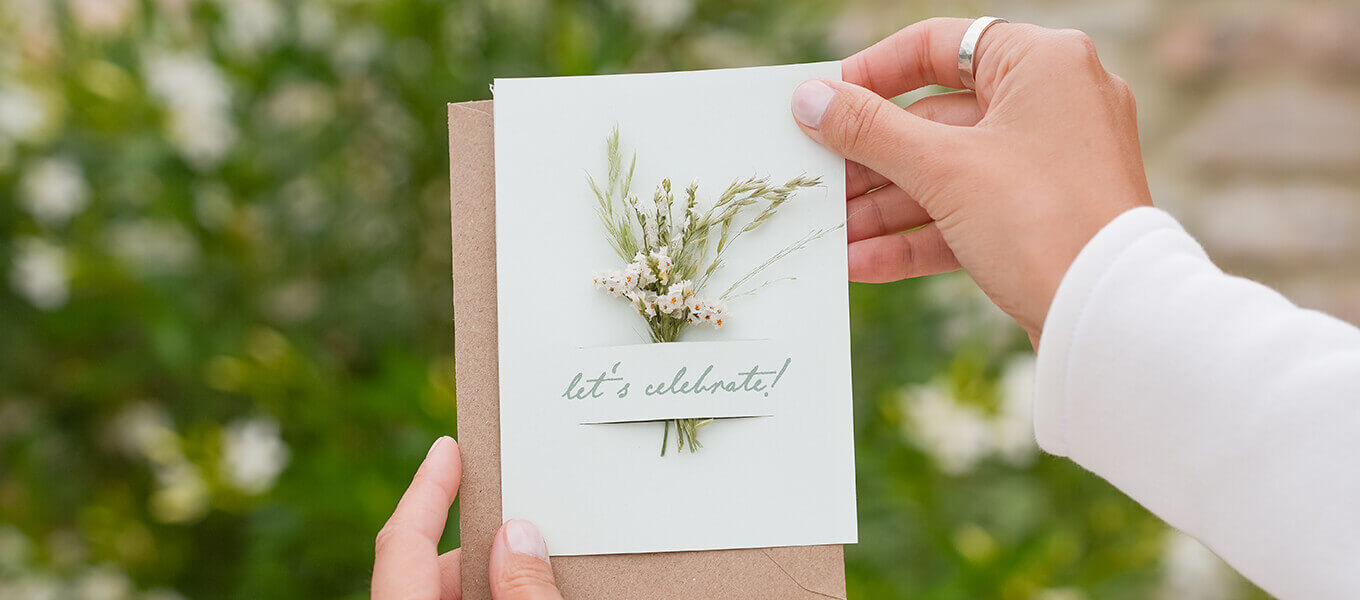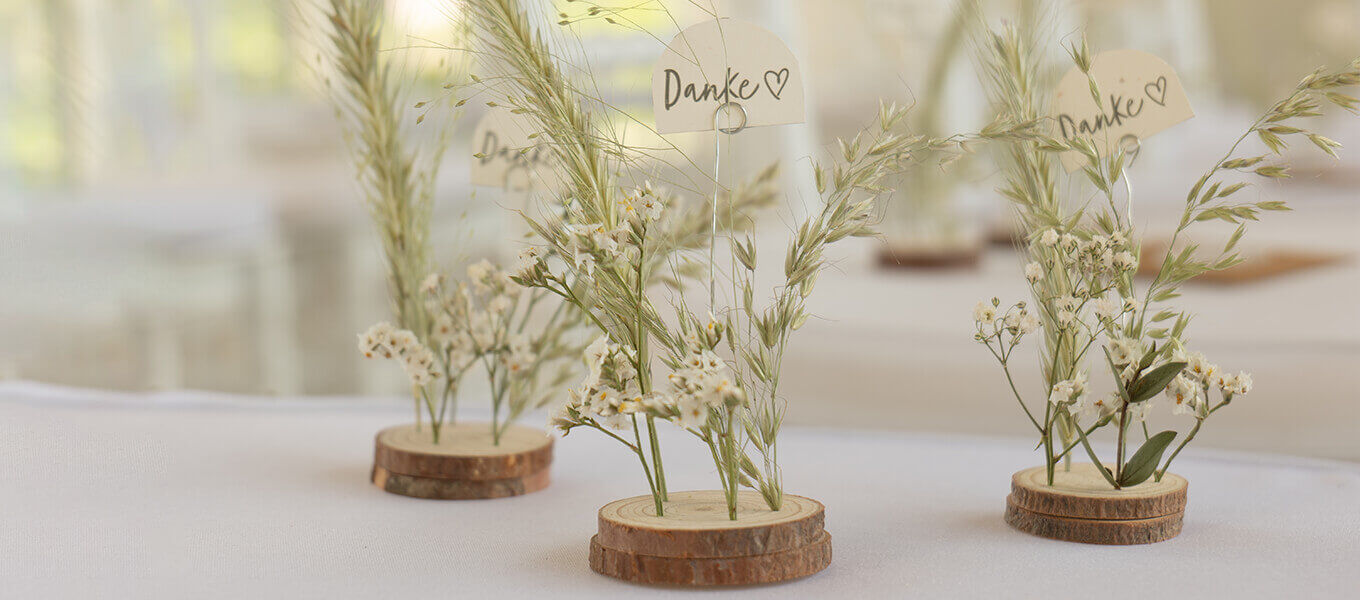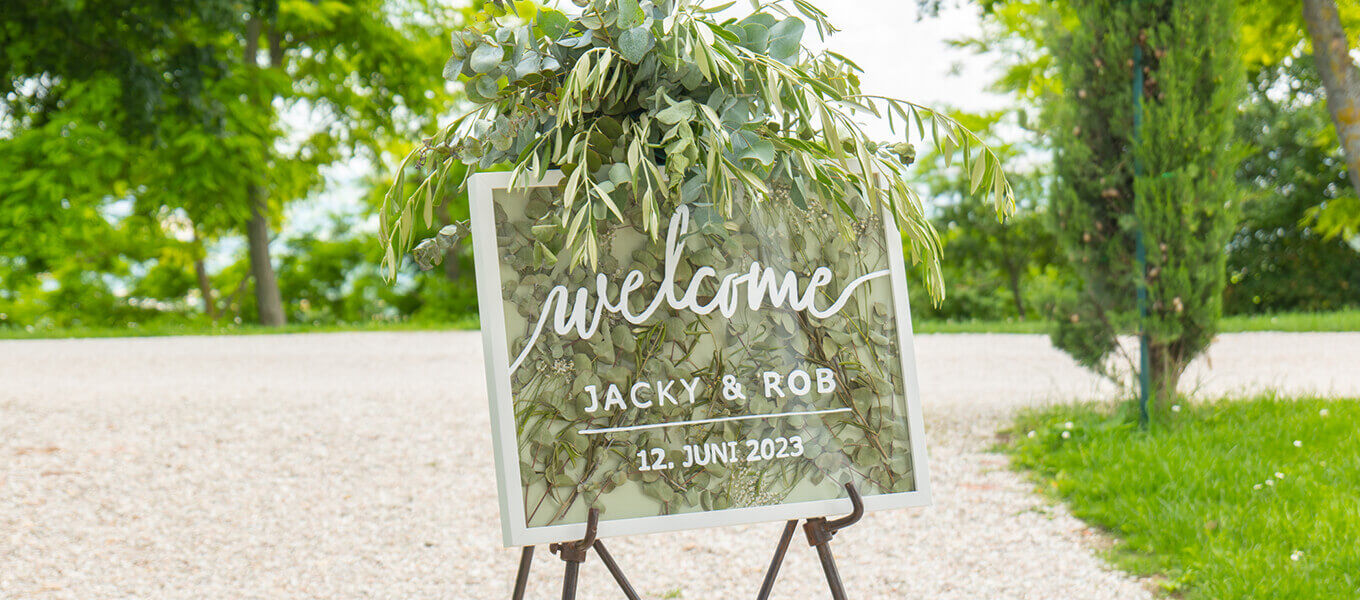
Floral welcome sign for your wedding with dried flowers
Weddings are always something very special. But they become even more beautiful with little homemade and, above all, personalised details. To welcome the wedding guests with a very personal touch as soon as they arrive, we have prepared a welcome sign DIY with dried flowers for you. And as we know how much preparation and planning a wedding generally requires, this wedding welcome sign is quick and super easy to make. You'll find everything you need and instructions for each individual step below.
Materials required:
- Deep picture frame
- Acrylic paint in green
- Brush
- Printed template
- Paint marker
- Dried twigs & flowers (eucalyptus, olive & gypsophila)
In preparation for the DIY, the flowers are placed in a vase without water. After a few days, the grasses and flowers will have dried and can be used. You can use any flowers that are easy to dry and do not need any special welcome sign dried flowers.
Instructions for the welcome sign
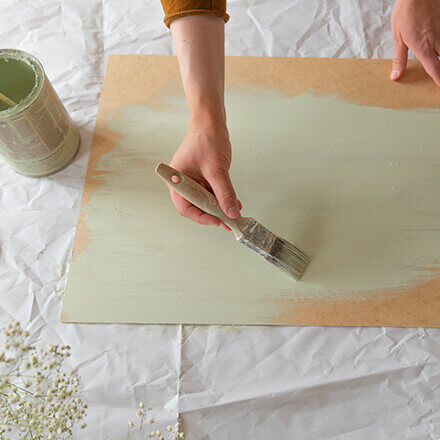
Step 1: Painting the rear wall
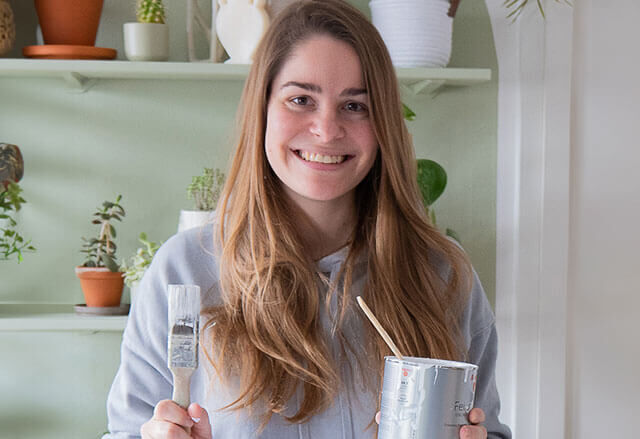
The first step is to dismantle the picture frame and paint the back wall with acrylic varnish in green. Leave to dry thoroughly.
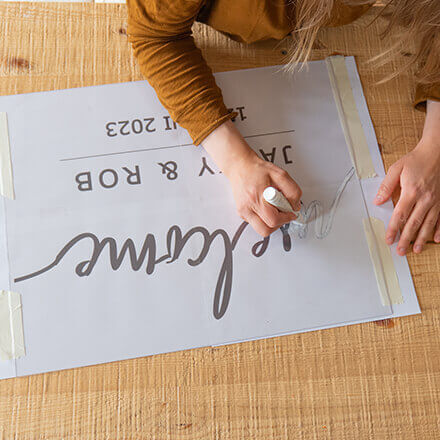
Step 2: Apply lettering
Meanwhile, you can start labelling the picture frame pane, which will then serve as the welcome sign glass on the front. Here you can work with a template that you can easily create on your computer. Tip: To print a template of this size on your own printer, you can select the "Poster printing" option. The motif is divided into individual A4 sheets and then only needs to be put together with adhesive tape.
To transfer the template to the glass welcome sign, simply slide it under the pane and colour in the lettering on the top with a paint marker. Depending on the quality of the pen, several coats of paint may be necessary to achieve an opaque result. The first coat should be completely dry before applying another coat.
Step 3: Fill & close the picture frame
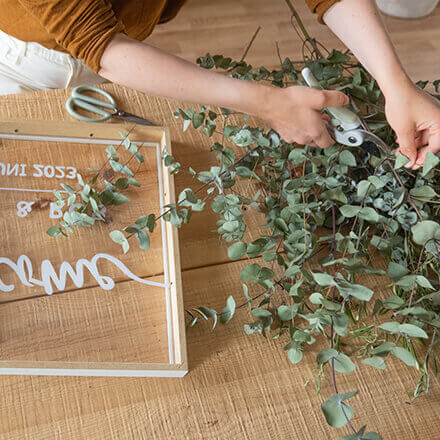
Once the writing has dried, it can be decorated. To do this, put the disc back into the picture frame and then fill the frame with the dried twigs. The green back panel is then inserted and pressed down firmly to flatten the twigs. Finally, close the picture frame again. Your welcome sign DIY is finished.
